Sunday, 18 December 2016

HotT: Santa vs the Barbarians

Introduction

Once a year, sometime in December, I pull my Santa army out of storage and use it in a game of Hordes of the Things.  If you're interested then here are the previous reports:

As you can see from these battles, Santa and his friends have faced all manner of enemies, but today's fight would pit them against a new foe: a musclebound, unwashed, barely articulate mass of Conanesque Barbarians!


This would be a straight up fight, with no special rules or scenario plots.  On with the story...

The Forces

In the red corner, trying to topple the festivities and loot & pillage Santa's workshop, we have:
  • Barbarians:  24AP of steroid-abusing narcissists with very little self-control.  This force is made up mostly of heroes and warbands with a few shooters as well.
  • Kung Fu: 24AP of inscrutable orientals.  A mix of heroes, blades and hordes, plus a cleric.
In the blue corner, defending all that is decent, right and proper:
  • Santa: 24AP of elves with firearms, polar bears, an animated toy cannon and hordes of snowmen.
  • Tileans: 24AP of Condottieri/mercenaries.  Pikes, crossbows, heavy cavalry, assassins and a flying machine.

The Game


From the outset, the attackers charged across the battlefield:
  • The Kung Fu army raced for the hill in front of Santa's house.
  • The Barbarians tried to close with their enemies as fast as possible (since the defenders had a lot of missile weapons!).  A single barbarian archer unit was sent to claim the other hill.
On the other hand, the defenders all edged forwards slightly, apart from the Tilean flying machine.  This made a huge, sweeping flank move and ended up on the other side of a forest, out of sight and out of mind.


As expected, Santa's shooters and artillery knocked backwards elements in the barbarian line.  This would make it much more difficult to mount any kind of coordinated attack.

Santa couldn't resist attacking the isolated barbarian archers on the hill.  It helped that flying elements are not penalised for being downhill of an opponent, but even then everyone was surprised when he wiped out the bowmen.  By far the most likely result would have been a simple recoil of the archers, which wouldn't really have bothered the barbarians one little bit.


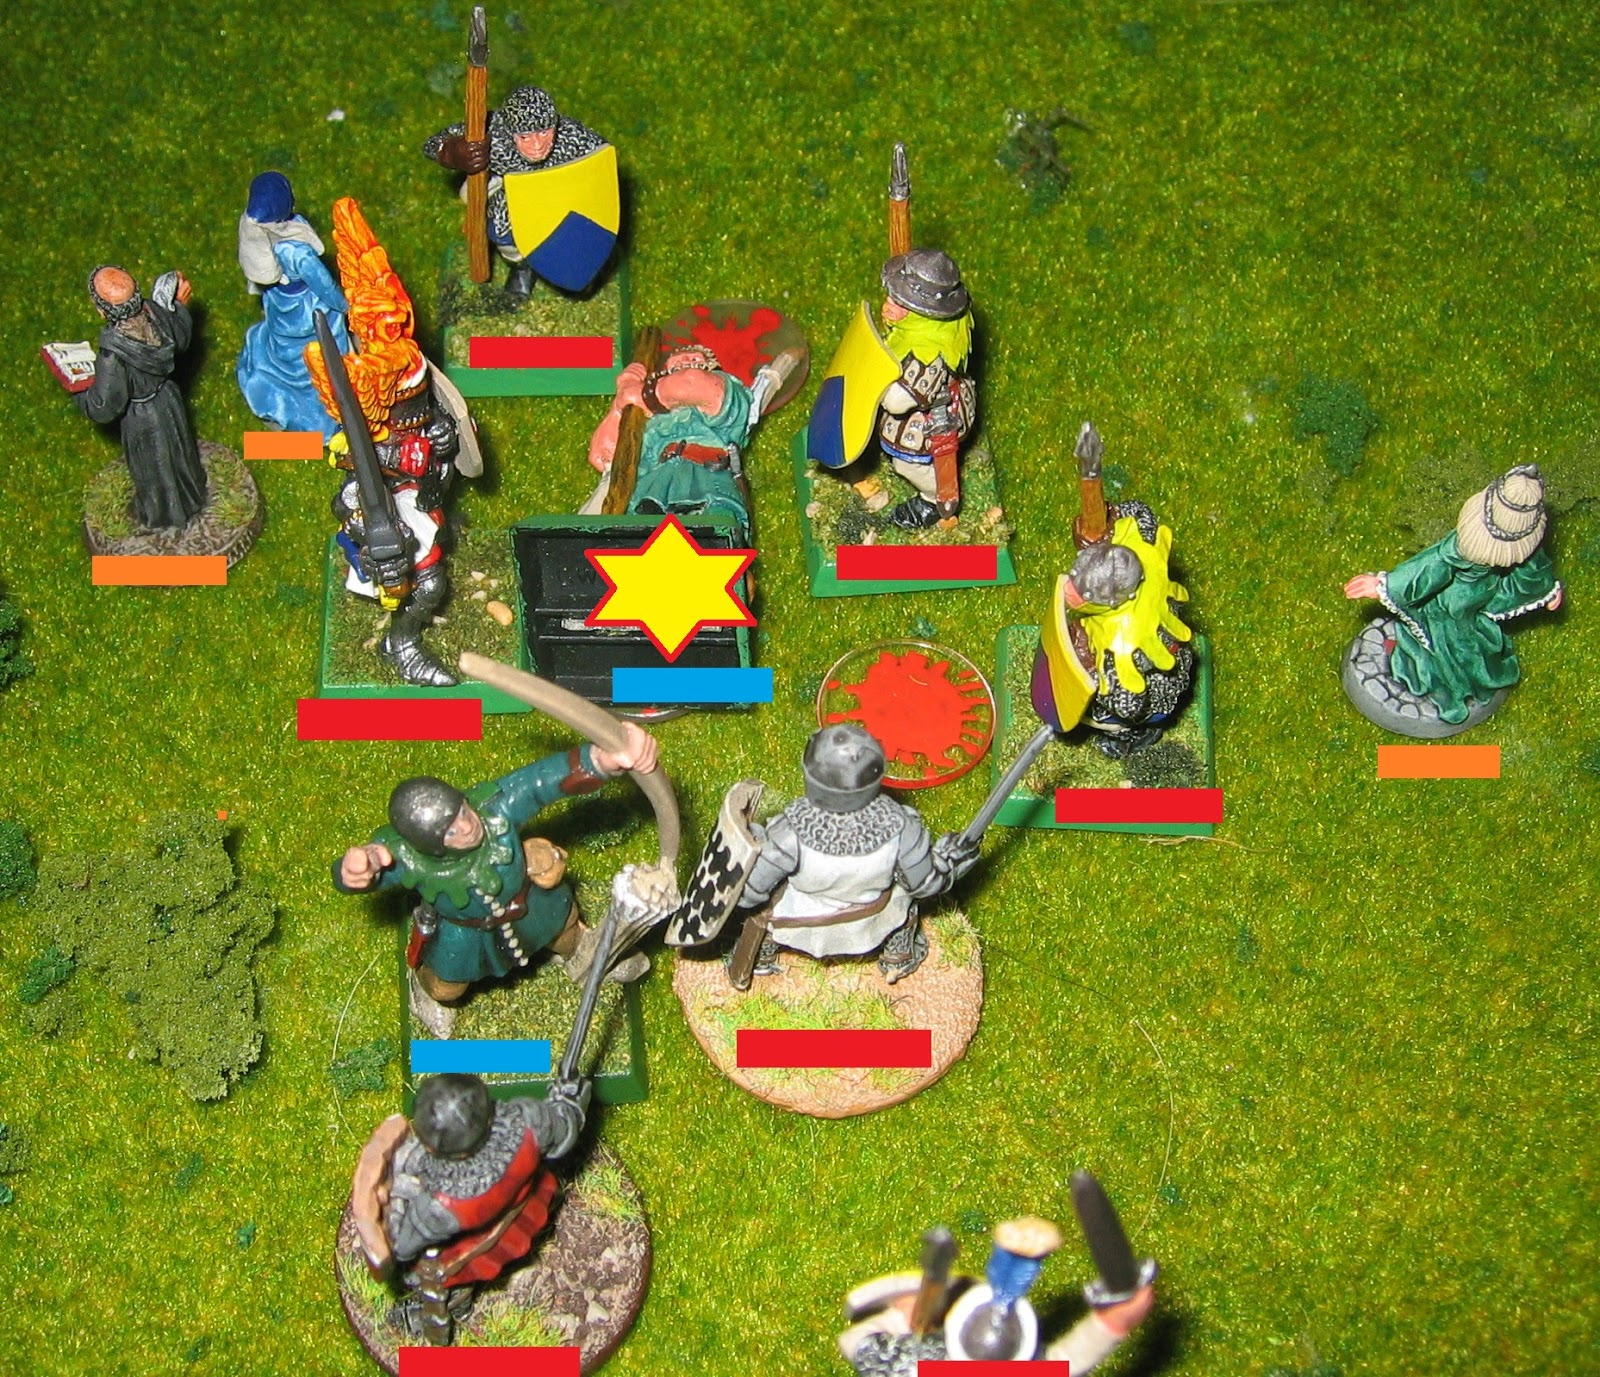
Sensing a challenge, the barbarian general ran and leaped up the hill to confront the enemy's hero.  Some of his warband followed him, whilst others surged forward into the snowmen.

Here's the thing about hero vs hero fights in Hordes of the Things: unless there's a tie, the loser dies.  As a rough rule in HotT, the loser of a fight recoils unless their combat score is doubled [pretty much impossible in this situation] -  but not when it's a hero facing another hero.  Oh, no - I guess they're just too stubborn to retreat or something like that.

So, Santa and the Barbarian king fought each other.  The odds were in the barbarian's favour as he had support from some of his tribe.  He duly rolled a better combat score than Santa (just!) and the man in red went down.  Game over, man!

The loss of their leader caused Santa's followers to panic.  Some fled the field immediately, whilst many of the snowmen were slaughtered by rampaging barbarians.


On the other side of the board, the Kung Fu army charged down from their hill into the Tileans:
  • With some luck on their side, the orientals smashed down the units at both ends of the Tilean line.
  • Although the Tilean assassins tried a sneaky rear attack, they were put to flight easily by the Kung Fu reserve.


After this, it was only a matter of time before the eastern hordes rolled up the Tilean force.  By the time  the Tilean general fell, his army was in tatters and demoralised.  Nobody even noticed when the flying machine slipped away quietly!


Then it was just a question of mopping up, whilst deciding which force would get bragging rights from looting the toyshop!  A barbarian warband was first to reach Santa's house, but these impetuous warriors fell to the magical defences.


The Kung Fu priest attempted to break in to the workshop, but his efforts were all thwarted.  Finally, the barbarian heroine was the one to smash her way in, capturing the stronghold and finishing the game.  Mind you, by this time there was only a single defending element left on the table (a Tilean pike unit), so Santa's defeat was complete and somewhat inevitable!


Conclusion

I don't think that the defenders really had a plan in this game.  Either they should have moved aggressively for the 2 hills and used the height advantage to hold them against all comers, or else they should have stayed on their baseline and used their reasonably good firepower to disrupt and damage the attackers.  Instead, they advanced slowly to the point where the attackers could neutralise both of these potential advantages.

The big (indeed, huge) turning point was obviously when the barbarian chieftain confronted Santa.  I hadn't read the rules in detain at that point and consequently hadn't appreciated that:
  1. Santa would not be disadvantaged by being downhill.
  2. Hero-vs-hero fights are exceptionally deadly.
As leader of the barbarians, I didn't then have as much of an advantage as I thought I would - and the loser of this fight would have their general destroyed.  That would likely result in the loss of their command and, in due course, cost the entire game.  Truly a lot depended on this one combat!

Well, we know how it turned out.  But it could have gone the other way so easily...


Finally, here's a shot of the Tilean flying machine hiding behind the forest, just to prove that it did exist!

Sunday, 11 December 2016

Super Dungeon Explore: Stilt-town Zombies

Introduction

Fresh off the painting table this last week: more Super Dungeon Explore figures.  This time, it's the Stilt-town Zombies warband.  Why are the called that?  Well, apparently the local villagers build their houses on stilts so as to provide themselves with some protection from this group of marauders.  Oh - and this warband consists of zombies!

Spawn Point


All SDE warbands have either 1 or 2 spawn points.  These are the places where the rest of the warband comes from, so it's important for the heroes to destroy them as quickly as they can.  For a zombie warband, the monsters come from a Grabby House - a deserted, rundown cottage that has been overtaken by eerie crystals and glowing lights.  Models close to such a spawn point gain the Grabby attribute, which means that the heroes cannot break off combat or move past them.


Shamble Priest


The leader of a zombie warband is a Shamble Priest.  It's not clear whether he/she/it is undead him/her/itself, or is just plain evil.  Either way, this character has some debilitating ranged magic powers and (as might be expected) the abilities to create fresh and encourage existing zombies.  As well as a bizarre sense of fashion...


The Zombies


There are 3 classes of minion in a group of Stilt-town undead.  Firstly, there are the huge pudge zombies.  It's not often that you'll come across a model in a game which has Disgusting and Gross attacks & attributes, but here is one such creature.  Since the Disgusting attack is ranged and poisons all opponents in a straight line, I think it's fair to say that its exact nature is best left to the imagination.  Similarly, when a pudge is destroyed it makes an immediate attack against adjacent enemies, so I imagine that it bursts and sprays them with innards or something like that.  Best if you don't think about this too much...


The second class of zombie minion in this group is the stealthy Prowler.  These are somewhat unusual (for a zombie) in that they're very fast.  They also have an ability which can heal the Shamble Priest if they (i.e. the prowlers) inflict any wounds.  Sounds useful...


Finally, here are the classic zombies; in this setting they're called Swampies.  Individually they are fairly slow and weak, but they do have the grabby and mob attributes.  This means that the heroes cannot retreat from a fight once they have engaged and that the zombies get extra attack dice for each other member of the mob.  Don't get caught; they'll swamp you!


Finally


You can tell from this group shot that I painted the shamble priest some time before the rest; the model's base is quite different.  Actually, I finished the zombies themselves a few weeks ago; it was only the houses which remained incomplete until this week.  Did I mention before how much I dislike painting crystals?  They're quite common (indeed, universal!) on spawn points for Super Dungeon Explore...

Thursday, 8 December 2016

Robin Hood and the Forest Road, part 2

<==  Part 1 is this way

Introduction

In the first installment of this tale, we left the Sheriff of Nottingham about to knife a pinioned outlaw, whilst Robin Hood was beset by the Black Knight and distracted by Yorick the Jester.  What happens next?  Read on...


Ups and Downs


As the Sheriff stepped forwards, the desperate outlaw struggled violently with his captors.  His sudden energy took the soldiers by surprise and the forester broke free [Well, I didn't expect that!  As the Sheriff, I was fairly confident of winning this fight.  Nottingham had a combat score of 3, versus the archer's C2 - reduced to 0 by the presence of 2 extra enemies.  With a d6+3, all I had to do was score double the outlaw's d6+0 for him to be killed.  But it wasn't to be...].


Annoyed, the Sheriff lunged at the archer again.  This time, he didn't have his 2 crossbowmen to aid him, but even so the odds were still in his favour.  We threw the dice; the outlaw rolled a '6' (C2+6 = 8) and the Sheriff got a '1' (C3+1 = 4).  The Sheriff's combat score was doubled and so he fell down, dead.

There was a moment of stunned silence, followed by the (muted) singing by the outlaw players of a well-known Bob Marley song: "I shot the Sheriff!  But I didn't shoot no deputy..." .

As the Sheriff was a Leader, his force then had to take a morale test.  This scattered them even further than they were already; one or two ran away for good.  And it was all going so well for the authorities before that!

To cap this, the Sheriff's band was reduced to half strength very soon afterwards (next turn?), resulting in another morale check and a thinning of the ranks of those left.  At least Yorick and the Black Knight didn't run away!


At the edge of the river, Robin Hood broke off his combat with the Black Knight and ran towards the fight between Little John and Guy of Gisborne.  Little John had run straight into the centre of a group of enemy soldiers and even though he had felled a couple of them, the big outlaw was now surrounded, injured and fighting for his life.

This left Yorick and the Black Knight free to finish off the nearby outlaws, though they made heavy going of it even then.


The Sheriff's men-at-arms had been slowly shepherding a number of civilians towards the edge of the table.  When the double morale-check disaster struck, some of these civilians were very nearly off to safety (and thus would have scored 3 victory points each for the authorities).  Instead, they were now lost and abandoned in the forest as their guides fled!


Despite everything, Robin was too late to help his friend.  Little John fell to the ground, got up again and fought on briefly before Guy of Gisborne delivered a fatal blow that stretched the massive outlaw flat on the grass.

This loss took Little John's band below half strength; the resulting morale check caused most of his remaining outlaws to scatter or flee.


In a moment of hesitation, Robin ran for the forest [his warband had just been reduced to half strength when another outlaw was killed].  When he recovered his wits, he was perfectly placed to shoot at the Sheriff's men who were pursuing him.  Despite his acrobatic dodging, Yorick took one of Robin's arrows in the chest and died immediately.  Warned by this, the Black Knight ducked, the second arrow missed and he survived with nothing but his pride injured.


There were small skirmishes all over the table as the remnants of the 4 warbands hunted each other down.  Surprisingly, the losses from these little battles tended to be very even, thus reducing the forces even more - but no-one was prepared to concede; everyone still felt they had a chance to win the game.

Guy's squad was still above strength (barely!).  Some of his men started to usher the civilians away from the gory scene of Little John's fall when one of them spied movement in the nearby trees.  "It's the outlaw chief himself!" the man cried as he took off in pursuit.  The nearby knights were either more cautious or slower-witted; they weren't quite so quick off the mark.


The Fight

This was the prelude to what was probably the most prolonged and dramatic piece of derring do that I have ever seen in a wargame; easily worthy of an Errol Flynn movie!  Although there were a handful of other models still on the table, they all fought each other to extinction or joined in this last, great combat.  What you're about to see ended up involving the few remaining figures from all 4 warbands.

Here goes:

Robin is heavily outnumbered by Guy and his men

...but he doesn't give up easily!

One man-at-arms falls to Robin's sword

Robin is forced back, Guy pursues

The White Knight rejoins the melee

Robin is forced back again 
...and again


He shoots a quick arrow at Guy, but the knight's armour saves him from death

The White Knight steps up to protect his boss

Guy attacks again, but once more is driven to the ground

They're getting close to the river now.

The White Knight continues to force Robin backwards

Guy continues to add pressure 
A forester comes puffing up to distract Guy.

Another forester tries to join in 
...just as the first one is cut down

The White Knight is floored by Robin, but Guy steps up to engage Robin instead.

The last remaining outlaw runs in and stabs the fallen White Knight

Now it's Guy who is outnumbered.  Robin knocks him to the ground, but his armour holds (again) 
Guy gets back up, but he's surrounded and outnumbered.

He forces one of the foresters to step back a few paces

...and uses this slight respite to kill the other archer.

...before turning round and sweeping Robin's legs from under him

Before Robin can recover, Guy's sword is at his throat.  Robin yields and the last archer runs away.

Conclusion

That was, without a doubt, the most tense and exciting finish to any game that we have played for a long time!  Both sides were completely involved and felt that they had a very good chance of winning, right until the very last throw of the dice.  In the end, none of the civilians were taken off the board, but both sides scored very high for eliminating enemy models.  It has to be a marginal win to the authorities, though: they had 1 man left whereas the outlaws had none!

Man of the Match: Sir Guy of Gisborne, by my reckoning.  He defeated both Little John and Robin Hood.  His heavy armour saved him on numerous occasions as well; it's as if he had a charmed life.

Most Useless: This has to be Friar Tuck.  His brief appearance was anything but heroic!  Although the Sheriff of Nottingham came to an unlikely end and could therefore be considered for this award, , he had been quite an effective leader up to that point and therefore doesn't qualify.


Sunday, 4 December 2016

Batrep: Robin Hood and the Forest Road

Introduction

The Sheriff's men, plus assorted rich merchants, churchmen and ladies

England, 1193.  The King, Richard I, has vanished overseas whilst returning from his crusade and his brother, Prince John, has seized power.  Normans lord it over Saxons, peasants are opposed to the nobility, taxes, corruption and general dishonesty run rife and the land is in turmoil.  In these dangerous times, merchants and clergy have begged for protection from the authorities whilst travelling through the more dangerous parts of the land.

Deep in Sherwood forest, the Sheriff of Nottingham and his ally Guy of Gisborne are escorting such a caravan along an overgrown track.  As they reach a small bridge over a stream, the knight at the rear of the party notices that there isn't a sound coming from the trees - even the birds have stopped singing.  His wariness almost pays off; he shouts "AMBUSH!" just as green-clad figures swarm from the undergrowth on both sides.


The Scenario


I've adapted a scenario from the Song of Arthur and Merlin rulebook (part of the Song of Blades and Heroes series, though both are separate, standalone games).  This started off as a cattle raid, but I've substituted rich civilians for the cattle and changed the mechanics of how they move somewhat.  See what you think:

The Outlaws

The outlaws are split into 2 groups of about 300 points value each:
  • Robin Hood and 7 (?) archers are in the trees to the north.
  • Little John, Friar Tuck and 7 (?) archers are south of the track.

The Normans

The authorities are also split into 2 commands of 300 points.  Note that we removed the Rabble trait from the Sheriff's men-at-arms.  In previous games this attribute made them exceptionally brittle; they died or ran away very quickly.  They're still not great fighters, but not quite so easy to kill:
  • The Sheriff of Nottingham, Yorik the jester, 1 minor knight (dressed in black), 4 crossbows/archers and 4 men-at-arms are at the front of the caravan.
  • Sir Guy of Gisborne, 3 minor knights and 9 (?) men-at-arms are at the rear of the party.

Special Rules

  • Neither side wishes to injure the civilians (they are too valuable!), so these models may not be targeted or injured in any way.  Equally, the civilians are frozen with fear; they will not undertake any movement or other action of their own volition.
  • A combatant from either force can move a civilian: if the combatant is in base contact with a civilian and the civilian is not in contact with an enemy combatant then both models may be moved together.  Whilst doing this the combatant's move is reduced by 1 step to represent the extra effort of dragging the civilian, pleading with them or whatever else it takes to motivate them!  So, if a model normally moves 'M' then he/she/it will move 'S' whilst accompanying a civilian.

Setup

  • The authorities and 10 civilians are deployed in the centre of the table.
  • The outlaws enter from 2 opposing sides of the table.

Victory Conditions

  • 1 victory point is gained for each 50 points of enemy who are killed or flee [note that this is a maximum of 12vp since the combined forces of the enemy amount to 600 points.  To gain the full 12vp, the enemy would have to be completely obliterated, though...]
  • Each civilian is worth 3vp, but only if they can be escorted off the table.  For the authorities, this has to be off either the edge where the path enters the table (i.e. where they have come from) or the opposite edge where the path leaves the table (where they are heading).  The outlaws use the other 2 table edges (where they deployed) instead.  Since there are 10 civilians, this gives a maximum of 30vp, easily outweighing the victory points which might be accrued for slaughter.

The Game


Initially, all sides moved somewhat sluggishly.  Little John and his men advanced cautiously; Guy of Gisborne moved to confront him.  From the other side of the stream, Robin Hood's men were even slower off the mark, though Robin did open the score by shooting down one of the men-at-arms.

The Sheriff directed his crossbowmen to harass the approaching outlaws, whilst he escorted the Bishop of Lichfield to safety.  His leadership skills seemed to be working quite well this game, as the exchange of missiles was probably in the Norman's favour.


Despite the lack of close support from his own men, Guy went steaming straight towards the biggest, meanest-looking outlaw he could see.  Initially, the fighting was inconclusive, though; Little John and the other outlaw forced Guy to step back.


Over the next few turns, the men-at-arms started to shepherd the civilians towards safety, though Guy's and the Sheriff's commands chose to go in different directions!  The Sheriff realised that his soldiers were struggling without his leadership so he abandoned the bishop and returned to give them directions.

His commands were so successful that Robin Hood was first distracted by Yorick (the jester) and then knocked down and assaulted by the black knight and various others of the Sheriff's men.  The nearby outlaws were slow to respond and for a while, Robin seemed to be in real trouble.

At the other end of the table, Friar Tuck finally puffed into sight, only to be confronted immediately by the yellow knight.


With one stroke, the knight beheaded the portly friar [gruesome kill!].  Not many outlaws were nearby, but those that were mostly blanched with fear and stepped back a few yards.  Little John used the distraction to dodge past Sir Guy and head towards the civilians [in other words, he failed 1 die of his 3 dice morale test and therefore ran 1 move away from the grisly sight; Guy didn't manage to stop him with a free strike at the big man's back!]


Little John's initial charge bowled over one of the men-at-arms in the central group - but he was hotly pursued by Sir Guy.  When the knight caught up, it was the outlaw who was outnumbered and knocked to the ground.


Elsewhere, things were going somewhat better for the outlaws.  Robin's men rushed through the trees to his aid and turned the odds against his attackers.


Two of the Sheriff's crossbowmen managed to seize one of the outlaws.  "Hold him tight, lads!" said the Sheriff, as he drew a long dagger from under his robe.  He stepped forwards, wielding the weapon and snarling "This is the price for your banditry, outlaw scum!".


...and that's all I have time for this evening!  Parental duties call and I have to go & fix a kid's computer.  I'll put up Part 2 as soon as I can (it'll probably be a few days, though).  In the meantime:
  • Will the Sheriff kill any of his own men for cowardice (he has done this in every previous game we've played)?
  • How will Robin fare against the dual threat of Yorick the Jester and the Black Knight?
  • What exactly does Sir Guy have against Little John?  He does seem rather fixated on pursuing the big outlaw.
  • Who will "rescue" more of the civilians; the authorities or the outlaws?