Showing posts with label DWMG. Show all posts

Wednesday, 27 November 2013

Doctor Who and the Prehistoric Swamp!

Introduction

Normally towards the end of the week I would post a battle report that describes the game I ran on Tuesday at the Helensburgh Games Club.  In honour of the recent 50th anniversary of Doctor Who, we would be playing the Doctor Who Miniatures Game (DWMG).  However, this week I did something I've never done before - I forgot to take a camera along with me to the club.  Consequently, I won't be able to bring you the usual description of the game (no!).  Instead, I can describe the scenario I created and give a brief synopsis of the way it played out (hurrah?).

The Scenario

Sea Devils, along with their pet myrka

The Doctor and his companions are in the Tardis, chasing a stolen spaceship piloted by the Master through time and space.  They've travelled some 65 million years into the past and are approaching a primitive Earth covered with swamps and jungles, when both craft are fired upon.  It appears that they have stumbled into the middle of an unsuspected high-tech war!

The Master's spacecraft crash-lands and breaks up into several large (but scattered) chunks.  The Tardis is also forced down nearby, damaged and in need of repair.  Squads from the 2 warring factions are nearby, shooting at anything which moves!

Can the Doctor repair the Tardis and escape?  Can the Master steal the Tardis and escape?  Is either set of warriors interested in the Doctor or the Master, or would they rather just attack their hated enemies?

Terrain

The table should be liberally covered with a mixture of jungle and/or swamp, possibly with a river or two as well.  Somewhere between 6 and 8 pieces of crashed spaceship need to be added, preferably at least 1 move apart from each other.

Forces

  • The Doctor: Any generation of Doctor, plus 2 companions.  We used a screamer (Sarah Jane Smith) and K-9, the robot dog.  The Tardis and all other models on this side start at a random position on the table, but at least 12" away from either end.
  • The Master: as well as the Master, we gave this side a strong-arm companion.  Possibly he should have had 2 companions - a scientist would seem appropriate as an extra follower.  The Master's group starts at a random position on the table, but at least 12" away from either end and from the Tardis.
  • Sea Devils: the "defending" force on the planet comprised 2 Sea Devil leaders (in heavy armour), 7 Sea Devil warriors and 1 Myrka.  This force enters the table from one end.
  • Cybermen: the notional attackers had 2 cybermen lieutenants and 10 regular cybermen.  These used the "Welcome to Torchwood" stats, though in hindsight this was too powerful.  Either we should have used half the number of cybermen or a less potent model!  This force enters the table from the opposite end to the Sea Devils.

Victory Conditions

  • Either the Doctor or the Master can win by repairing the Tardis and flying away with it.  To fix the Tardis requires 2 new parts to be fashioned; each of these can be made from the fragments of the Master's spacecraft with a successful repair roll.  Note that each piece of wreckage can only be tested once, so if the roll is failed then that piece of wreckage is unusable junk!
    Note that anyone with the invent skill is free to use the wreckage as a source of inventions instead of repairs, if desired!
  • The Cybermen and the Sea Devils gain 1 victory point for each member of the enemy force who is killed (no matter who kills it!).  They don't score anything for killing the Doctor's or the Master's forces, but gain 1VP per member that is captured and taken off the table via their "home" edge.

Our Game

Initially, the Master attacked the Doctor and tried to persuade the Cybermen to do the same.  However, the metal men just stomped forward, capturing the Master's bodyguard (who was later shot whilst trying to escape) and wounding all the characters in the area.  The Sea Devils lined up in the open to try to return fire, but were cut down mercilessly without even scratching the polish of their attackers.
By the time the Sea Devils had been reduced to 3 models, K-9 and the Doctor had found the new parts they needed.  The Master persuaded Sarah Jane to let him enter the Tardis and he was sitting there drinking tea when the Doctor returned.  There were some discussions: the Master suggested that they attack the cybermen from inside the blue box, whereas the Doctor was planning how to save the last few Sea Devils.
Withering and deadly accurate cybermen fire killed off the last of the Sea Devils, at which point the Doctor activated the Tardis and flew away with the Master, leaving the field to the victorious cybermen.

Result: Cybermen complete victory (only a single model was stunned; apart from that they took no losses)!  Both the Doctor and the Master were wounded, as was Sarah Jane.  The Master's bodyguard was missing, presumed dead.  I'd give these guys a partial victory, as they did all escape.  The poor sea devils were exterminated completely and therefore have to be classed as a total loss!

Wednesday, 1 May 2013

The strange events at Chessex-under-Wold

Introduction

I was at a bit of a loss as to which game I should host at the Helensburgh Club this week.  I like to rotate through my "stable" of rule-sets, but several of the more popular ones have had an outing quite recently and so they were out of consideration.  I've got reasons for holding off on running All Things Zombie and Full Thrust (all will be revealed in due course), so they were out too.  So, it was time to crack open the Doctor Who Miniatures Game (DWMG) again!  [Please don't interpret this the wrong way: DWMG is a fine game, but the subject matter doesn't lend itself well to the large, multi-player games which I  provide at the club].

Scenario

Some time in the 1970s, the Daleks hatched yet another nefarious plan to conquer rural England.  This time, success would depend on capturing a number of humans, in order to analyse their DNA and do some horrible genetic experiments on them.  To this end, the aliens selected the sleepy village of Chessex-under-Wold as their target; a snatch squad would surround the village and harvest the locals!

Forces:

  • Monster: 6 daleks (1 supreme [black], 1 sub-commander [red], 4 warriors/drones [grey]), plus 3 pig slaves.  Actually, I would have used a lot more pig slaves if I'd had the models.  Although either daleks or slaves can capture humans, only the slaves can run; the daleks are somewhat slower than a human.
  • Villagers: 10 civilians.  These are controlled by the Good players, but are a separate force as far as leadership is concerned (i.e. they cannot be led by other Good models).  None of the civilians is a leader.
  • Good: Initially, there are no Good forces on the board.  However, the player may roll at the start of each turn for reinforcements, needing a '1' on turn 1, a '1-2' on turn 2 and so on (though a '6' is always a failure).  Once it is determined that a reinforcement is due, roll to see what arrives:
  1. Tardis, Doctor, 2 companions
  2. UNIT truck, Brigadier, 4 troopers
  3. UNIT truck, Captain, 4 troopers
  4. UNIT truck, Sergeant, bazooka team, 3 troopers
  5. UNIT truck + MMG, 5 troopers
  6. UNIT truck, LMG team, 3 troopers

Special Rules

Another quiet day in Chessex-under-Wold.  The squire argues with some tennants, a schoolmaster leads a small field study group and a very rich little girl is escorted home from a party by her 2 nannies.
  • Villagers start in the centre of the village.  They may not voluntarily move closer to a visible enemy.
  • Monster forces may start anywhere along the table edges.
  • If selected as a reinforcement, the Tardis may be placed anywhere on the table.  All enemies within 12" of this point must immediately take a morale test (and flee for 1 turn if they fail).
  • UNIT reinforcements may enter along either end of the road.
  • The Daleks are a medium-tech (1970s?) version; they have high defence and dalekanium armour, but no force fields.  They're still plenty tough, mind!

 The Game

The monster player chose to approach the village along the road, entering equal forces from each end.  A lone pig slave came in from the north, to prevent any villagers from escaping in that direction.  Initially, the daleks moved quite slowly, but the pigs ran in from all directions as fast as they could.


The appalled civilians streamed south out of the village, away from the horrible alien menace, but closely pursued by the 2 nearest pig slaves.  Indeed, these monsters had just reached their first 2 intended victims and were about to attack them...


...when the good players revealed a "Behind the Sofa" random event card.  They rolled a '2' for the number of models and used this to move both the threatened civilians out of the clutches of the pigs!


However, with the pig slaves behind them and daleks approaching from both sides, it didn't look as if this would be more than a temporary reprieve for the villagers.


Indeed, a pig slave soon grabbed hold of one of the schoolboys.  Another slave attempted to subdue the squire, but the desperate man managed to break free.  Then, with an EERrwWwoooSHHhEERrwWwoooSHHhEERrwWwoooSHHh sound, a blue Police Box materialised nearby.

One pig slave and one dalek drone fled in terror from the unearthly noise, but the rest of the monsters held their ground.  From the Tardis, a young woman (Amy) ran towards the villagers.  One of the pig slaves immediately pursued, but couldn't quite capture her.


Then, more leisurely, the Doctor and his robot dog, K-9, stepped out of the machine - only to find that he was surrounded by angry monsters!


Rather than be shot by 3 daleks, the Good side played another event card.  They used the "Dodgy Prop" to move the Tardis...


...so that it blocked the line of sight for 2 of the monsters.  The 3rd dalek fired at the doctor and missed, though K-9 took some damage from the drone.  The tin dog still managed to move and shoot dead the pig slave who was pursuing Amy!


The captive boy was nearly off the board, held firmly by a pig slave and escorted by a grey dalek, when UNIT forces finally arrived.  A truck fitted with an MMG drove off the road towards the monsters.  The gunner hosed the grey dalek with .50 calibre bullets; this was too much for the alien's armour and it disintegrated.  At the same time, a couple of troopers dismounted to try to save the boy, but they were too far away and the pig slave would certainly reach the edge of the board in its next turn.

However, the good side weren't so easily beaten.  They played their 3rd and last event card and used it to make one of the UNIT troopers "Run" into close combat with the pig slave.  The annoyed creature immediately had to release its captive so that it could defend itself!


Elsewhere, K-9 went head-to-head with a dalek drone at close range.  The little dog fired his small nose laser and used up all his luck points trying to hit the target.  Sadly, he failed to injure the warrior; in return it blasted K-9 to bits.


The Doctor ran for his life.  He managed to temporarily scramble the circuits in one dalek's battlesuit, but he had to use up a lot of his luck points to avoid taking serious damage from the others.

By this time, the Black dalek was taking an interest in the annoying UNIT troopers to the east.  The temporarily-captured schoolboy had long since fled, so the dalek leader fired into the growing melee between the pig slave and 2 UNIT men [the good side wouldn't dream of shooting into a melee, in case they hit their friends.  However, a dalek wouldn't worry about such a thing!].  The blaster shots vapourised the pig slave and one of the troopers, then the monster player used a "Killing Spree" event card to fire again and finish off the remaining soldier.

A second UNIT truck loaded with reinforcements arrived.  It pulled in next to the first one, running over the 3rd and last pig slave as it did so.  The first truck's MMG fired at the stunned grey dalek; even though the range was long, it cut down the alien (somewhat against the odds, it has to be said!).

To the monster player's complete disgust, the turn ended with a single UNIT trooper aiming his rifle at the sub-commander dalek.  Despite the extreme range, the incredibly lucky soldier hit his target, penetrated its armour and caused enough damage to destroy it.  Scratch one red dalek!

This left the monster player just the black dalek supreme and 2 grey drones.  One of the drones was still in the village's main street, but the other was pursuing the villagers, near to the river bank.  It wasn't close enough to capture any, so it shot one person dead before being recalled by its leader to deal with the ever-increasing numbers of UNIT soldiers.


UNIT were now feeling quite confident.  After all, they'd already destroyed 3 daleks (and run over a pig slave).  All the troopers who could now opened fire on the black dalek.  This had absolutely no effect; every bullet either missed or just bounced off, leaving the bored monster unscratched.


The dalek supreme might have been forgiven for being cocky, but UNIT weren't done yet.  A bazooka team leaped from out of their 4th and last truck.  Taking only a moment to steady himself, the operator fired his rocket at the monster and achieved a direct hit.  He then rolled a '6' for the number of damage points; the dalek's leader exploded violently!


The nearby drone avenged his leader by killing 1 member of the bazooka team, though not before the weapon had been reloaded.  Quickly, the gunner fired again and scored a direct hit: another dalek destroyed!


The end of the game saw the last remaining dalek trundling along the road, while UNIT prepared an ambush from behind the last house in the now-deserted village.  I'm guessing that the humans probably had enough firepower to take out the monster, though not necessarily without cost.

Conclusion

 So, who won?  Here are the standings:
  • Monster: 5 out of 6 daleks destroyed, all 3 pig slaves lost.  No captives.
  • Villagers: 1 civilian shot and killed.  All the rest thoroughly traumatised; taken to a UNIT facility for debriefing (and memory redaction?)
  • UNIT: 3 soldiers lost.  Several troopers in line for some serious medals!
  • The Doctor: Both the Doctor and Amy were injured.  K-9 was destroyed (though he could be rebuilt?).
The daleks spent a lot of their mid-game effort trying to kill the Doctor and his companions.  They managed to strip their targets of all their luck points and then inflict injuries.  However, ultimately this distracted the monsters from either capturing civilians or fighting back against UNIT.  The vendetta was their downfall, I think!

Wednesday, 12 December 2012

The Three Doctors. Who?

Introduction

Long before I started this blog, we sometimes played the Doctor Who Miniatures Game (DWMG) at my local games club in Helensburgh.  Each time we did this, I always felt that it hadn't worked quite as well as I had wished.  This is in no way a fault of the rules, but rather because most of the published scenarios are for small forces and therefore are not really suitable for the 6 or more players typically wishing to participate in my games.

Eventually, succumbing to pressure from my son and others, I revisited this.  I remembered a very grand scenario, designed for conventions: "The Five Doctors".  Now this is a bit beyond my resources, requiring as it does a large tower, cliffs with caves, mountains with traversing ropes, 5 doctors plus assorted gamesmaster-controlled monsters and so on.  However, maybe I could take the basic concept and adapt it to my needs...

The Scenario

The Master is up to his old tricks again.  Somehow he's got hold of a device that is scooping random groups of aliens from all over time and space and depositing these creatures in a desolate, icy, ruined city.  Why?  I don't know - maybe he just likes to mess with things?  Anyway, amongst the groups thus displaced are 3 incarnations of the Doctor, each with some companions.

  • The Master is at the centre of the table, very much in control of events.  To fly away with the Tardis, one of the Doctors must approach him and win an opposed intelligence test.  No companions are allowed for this challenge; the Master automatically hypnotises them into inaction when they come close.
  • To get to the Master, a team must deactivate one of the force fields.  This requires an intelligence test with a -6 modifier.  Each scientist companion present gives a bonus of +2 to whoever is taking the test.
  • Each force field is assigned a colour.  Scattered around the table are a number of face-down clues, most of which have a coloured dot on them.  For each matching clue held by a team, a bonus of +2 is granted when trying to deactivate the matching force field.
  • A few of the "clues" are marked as encounters with monsters, rather than coloured dots.
  • The Angels are just statues (i.e. they're not monsters) - but the players don't know that.  Ain't I a stinker?!  They cannot be activated or damaged in any way.
  • I didn't have a single game mat large enough for my plans, so there is a snow field to the west of the ruins; the remainder of the terrain is arid.
  • There are 3 locations where supplies are present and inventions may be attempted: the hut to the east, the pile of crates to the west and the cockpit of the crashed spacecraft to the north.
  • Each team would be dealt 3 random event cards, as per normal in DWMG.

The Forces

 The players were divided into 3 teams.  Each team would take 1 doctor (plus some companions) and would be in charge of one group of monsters.  They could use these monsters to confound the other Doctors or to aid their own (i.e. by attacking the other teams' monsters).  The only restriction was that the various Doctors and companions may not attack each other.  So:

Team Pertwee consisted of the 3rd Doctor, Jo Grant (a screamer) and K-9 (the robot dog).  They also had control of 3 cybermen on the opposite side of the board.

Team Smith had the 11th Doctor and a couple of UNIT soldiers.  They had 2 daleks with which to terrify the opposition.

Team Tennant was made up from the 10th Doctor, Sarah Jane Smith (screamer) and Adric, the boy wonder (scientist).  This group controlled 3 Sontarans.

The Game: At The Beginning

In early moves, Team Pertwee were chased around the snowfields by daleks on one side and Sontarans on the other.  Although neither set of monsters could get a clear shot at the good guys, they did prevent them from making any progress.

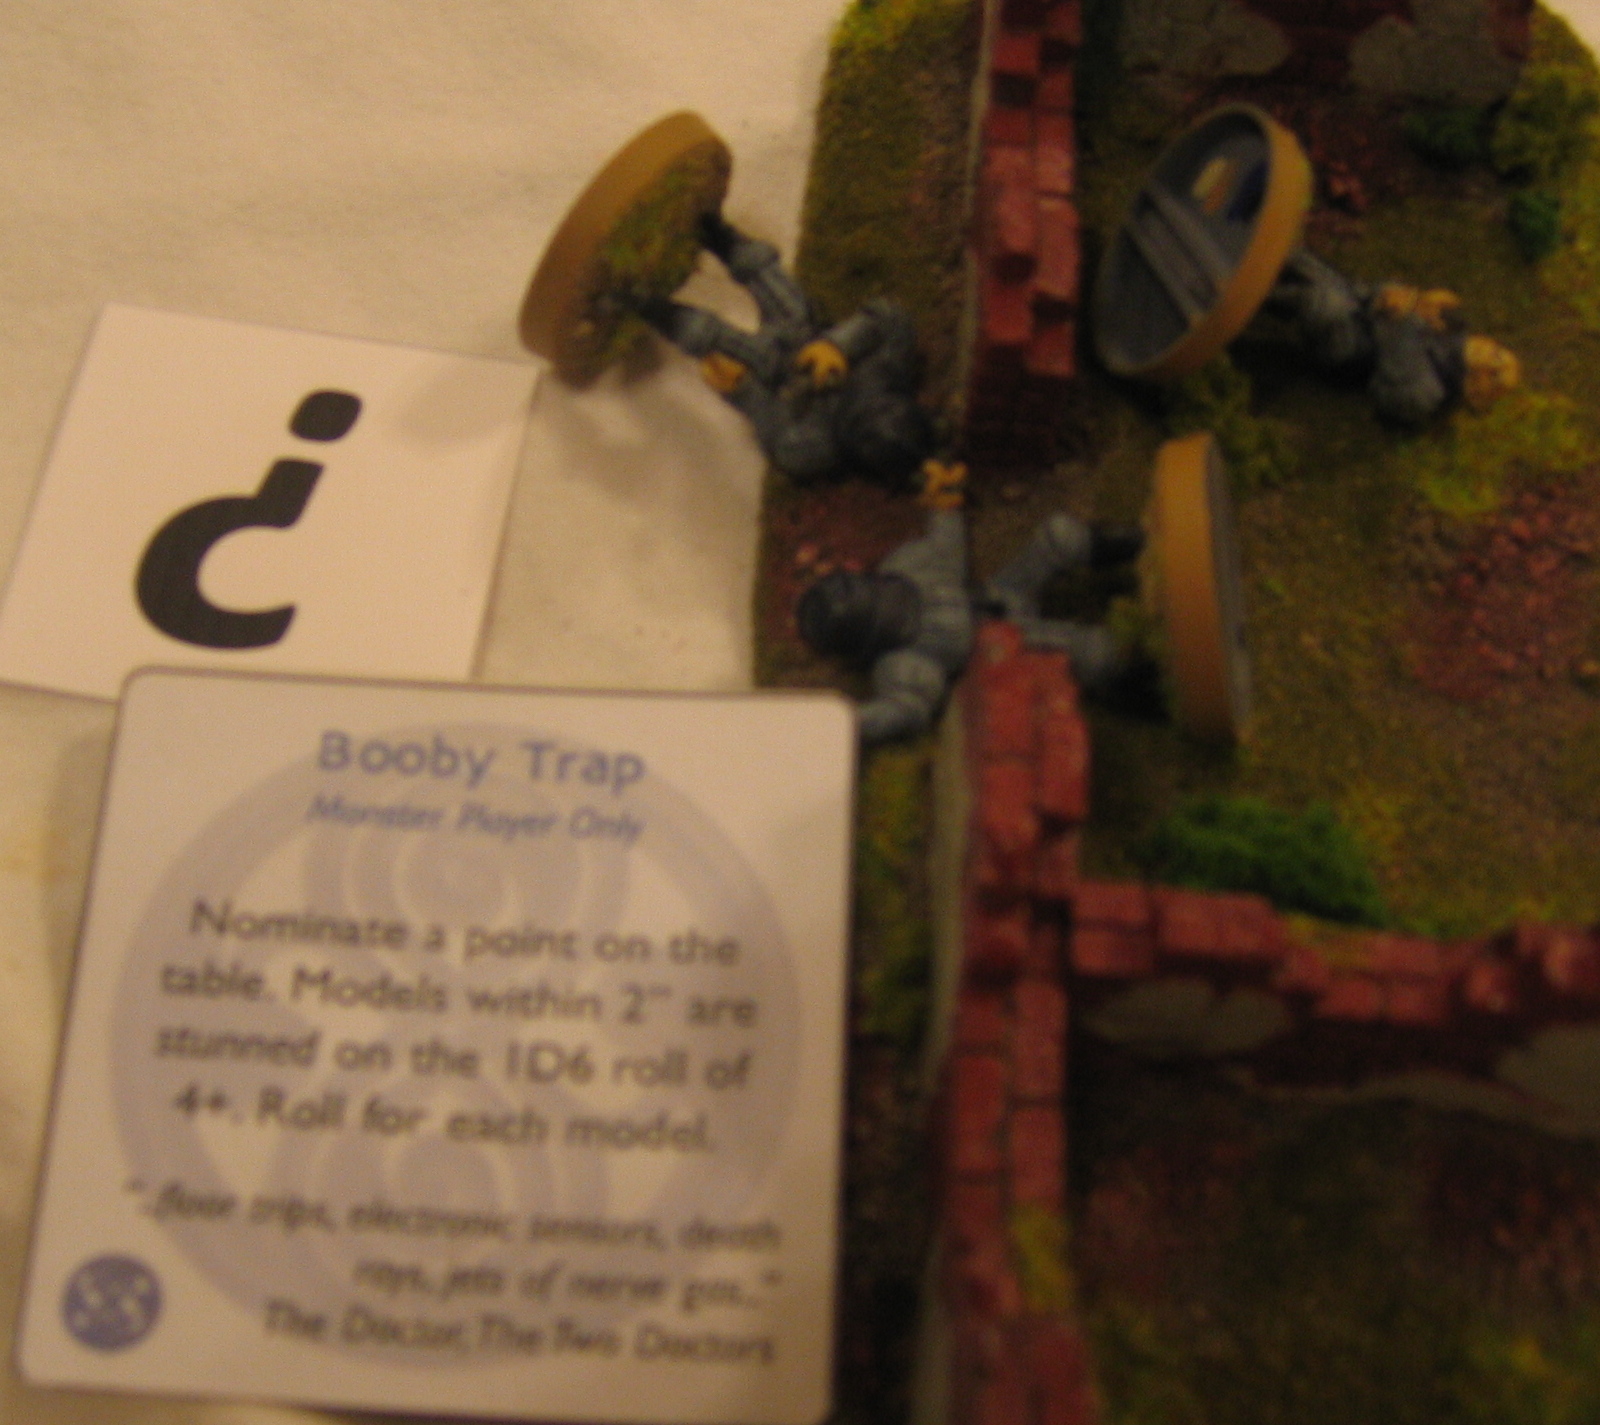
Eventually the daleks lost interest and moved off to chase Team Tennant instead.  The Sontarans thought they had finally caught the 3rd doctor in the open, but Team Pertwee played a devastating Booby Trap card which stunned all 3 of the short aliens.

Team Smith had split up to search for clues (and isn't that such a cliché!).  The Doctor was investigating the crashed spacecraft when one of the UNIT troopers discovered what happens if a clue card doesn't have a coloured spot on the reverse.  In this case, he disturbed a giant wasp!


Meanwhile, Team Tennant had been merrily collecting clues, quite unthreatened by anything.  Sadly for them, they just couldn't find matching sets.  By the end they had collected exactly one clue for each of the 4 possible colours.
Eventually the 2 daleks managed to get in range of Sarah Jane and opened fire.  They would probably have hit too, but Team Tennant avoided that by playing a Wildly Inaccurate card at an opportune moment.

Team Tennant then ran for the shed.  The daleks followed, though at a slower pace.

The Middle Game

In the snowy ruins, the first clue that Team Pertwee investigated turned out to be a giant wasp attack.  Fortunately for them, the insect chose to attack K-9, who could at least fight back with his nose laser.    Even when the stunned Sontarans started to recover from the booby trap and approach the team, Jo and the 3rd Doctor refused to leave the tin dog even though they were not really able to assist in the fight.

Team Smith's trooper used a Dazed & Confused card to escape from the wasp that he was facing.  In true Doctor Who style, he and his companion then fired repeatedly at the beast without managing to inflict any damage on it.

At about the same time, the 10th Doctor and Adric (Team Tennant) entered the shed to look for items with which to invent something.  It looked as if it might be a close-run thing, as the daleks were approaching steadily.  Sarah Jane stayed outside, hoping to lead them away by using her monster magnet ability, if necessary.

The previously dormant cybermen suddenly decided to make a move; they approached the 11th Doctor from behind, whilst he was working.  A quick Behind the Sofa event card moved them all 2" further away than they had been - which meant that they were not in range after all!

Much to his annoyance, the 10th Doctor was also moved 2" by the same event card.  This took him right out of the shed where his invention had been progressing steadily and into open sight of the approaching daleks!

He dived back into the building just in time to avoid being shot.  Fortunately for Team Tennant, the daleks decided that it was vital to their plans to capture Sarah Jane in preference to any other activity.  The Monster Magnet ability has rarely been so useful - had it failed, all the daleks had to do was wait at the shed door!

Team Pertwee was still in trouble, watching K-9 fight the wasp.  After a number of rounds of shooting, the 2 Sontarans who had recovered from the booby trap managed to hit Jo Grant.  She had to use 2 of her luck points just to stay alive, but still took a wound.  This finally spurred K-9 into using some of his own luck to kill the wasp.

The UNIT troopers from Team Smith had found a couple of green clues, but then one of them ran into another wasp.  This time, a single accurate, aimed shot from his companion was enough to dispatch the beastie.  Quite surprising for an unnamed character!

Inventions

Both Team Tennant (working in the shed) and Team Smith (in the wrecked spacecraft) now came up with inventions.  Oddly enough, they both identified the Achilles heel in the plans of a group of monsters!

The 10th Doctor (Team Tennant) discovered a hole in the dalek's plan: they were relying on an old spatial coordinator to report their progress to their leader.  This vulnerability was placed near the edge of the board, where the cybermen promptly pounced on it.  From now on, the daleks would be demoralised and would require a morale test (at -1) in order to perform any action!

Over in the ruined spacecraft, the 11th Doctor (Team Smith) discovered that the cybermen had intended to steal the tardis itself.  The token for their vulnerability was placed beside the blue box and was therefore inside the force field.  Cunningly, the cybermen had managed to adjust the token's position so that nobody could reach it (unless they had virtually won the game, that is)!

The End Game

Sarah Jane (Team Tennant) had spent much of the game running from the lovelorn (?!) daleks.  They were not fast enough to catch up, but hadn't given up their intent to capture her.  Eventually, though, she ran into another giant wasp.

For a moment, it looked touch and go for the small woman.  The daleks were approaching from the rear, cybermen from ahead and the wasp was buzzing furiously and trying to sting her.  However, all ended well for Sarah Jane when the cybermen tried to shoot her.  She used 1 point of luck to shift the only successful shot from herself onto the wasp, which was promptly fried by the blaster hit!

The 11th Doctor made it up to the force field, on the green-coded side.  He already had 1 green clue and the second UNIT soldier was bringing another, so the chances looked good for Team Smith's next turn when they would attempt to deactivate the barrier.

Seeing this, all of Team Tennant raced up to the yellow-coded force field.  Luckily for them, the 10th Doctor had a spare action left after his move.  Despite having only 1 yellow clue, Adric's scientist bonus gave the Doctor the advantage he needed to switch off the force field.

The cybermen were now the only hope of stopping either team from challenging the Master.  They moved into range of Team Tennant and opened fire - but missed with all their shots!

Team Smith managed to drop the green force field and the UNIT troopers rushed in to disrupt the cybermen's plans (by finding their Achilles Heel token)...

...but it was too late.  The 10th Doctor stepped forward to challenge the Master.  In a dazzling display of wit and cunning, he persuaded the evil mastermind to step aside and relinquish the tardis.  Team Tennant had won the game, thus conclusively proving the superiority of the 10th Doctor beyond dispute!

Epilogue


And what of Team Pertwee?  The 3rd Doctor and K-9 were still assisting the wounded Jo Grant through the ruins, pursued doggedly by 2 Sontaran warriors (the 3rd one never did regain consciousness after the booby trap).  Occasionally the Sontarans would have a clear line of sight, but the odd long range shot only managed to scratch K-9's paintwork.