Showing posts with label austrian. Show all posts

Thursday, 8 October 2015

Black Powder: Grochow, 1809

Introduction

The battle of Grochow was fought on April 25th, 1809 between the Polish and Austrian armies (at least, according to my "Blunders on the Danube" scenario book).  An Austrian division under Von Mohr had been ferried across the river Vistula to threaten a Polish garrison, but Prince Poniatowski led 3 columns of Poles to contest this bridgehead.

Since I failed to find any corroborating data about this battle in any online source, the scenario book is the only detailed reference I have for the battle.  Indeed, one Wikipedia article mentions the correct date and place for the battle, but claims that it was fought between a different Polish leader and a Russian force!  Were the Russians invading Poland in 1809?  I'm sorry to say that my education has failed to provide much detail on wars in eastern Europe...

Either way, the scenario can be gamed as written even if there is some doubt (in my mind) about its authenticity.  So, what have we got?

The Scenario


In the game, 1 large and 2 smaller columns will attack Grochow.  We didn't have any Polish figures, so we substituted Steve's Russians instead.  This shouldn't make any material difference, as the number and classes of the units were given in "Blunders on the Danube" and we kept to those forces.  The attackers have 6 turns to take the town of Grochow; if they can do this then they win the game.

It'll be a difficult task, though.  The town is heavily garrisoned by Austrian infantry and can only be reached by passing through gaps in impenetrable forest.  There's also a small Austrian detachment in the village of Radzymin; will they be able to threaten the Russians' flanks or rear as the attackers pass by?


We decided to use my "Black Powder Personality Cards" once again.  The cards for the fairly poor quality Austrian commanders gave 2 of them a high level of decisiveness, though with their otherwise under-average abilities, this might be better termed "arrogance".


On the other hand, we had some personal difficulties in reconciling the highly skilled Russian leadership with the portraits on the cards!  It did cause a few hesitant laughs, for sure.

So, the numbers of units are about equal, but the Russians are mostly light cavalry with only a few infantry units.  The Austrians are the other way around: mostly infantry with only 2 units of cavalry.  The Russian leadership is much better, but even so, how is a mostly cavalry force going to assault a town?  It's going to be tough...

The Game


Near the town of Grochow, the Russians advanced rapidly and, with their skilled commanders, deployed easily into an attack formation.  Their plan was (I believe) to knock out the supporting Austrian infantry from both flanks of the town before turning inwards and assaulting the built-up area from 3 sides at once.  In past games of Black Powder, we've found that units in buildings are exceptionally hard to dislodge, so this plan was probably their best hope.  Still, it looked like a pretty tall order...


Straight away, one of the Russian attack columns came under heavy fire and was halted, disordered.  Even at this early stage, the assault looked unlikely to achieve its objectives.


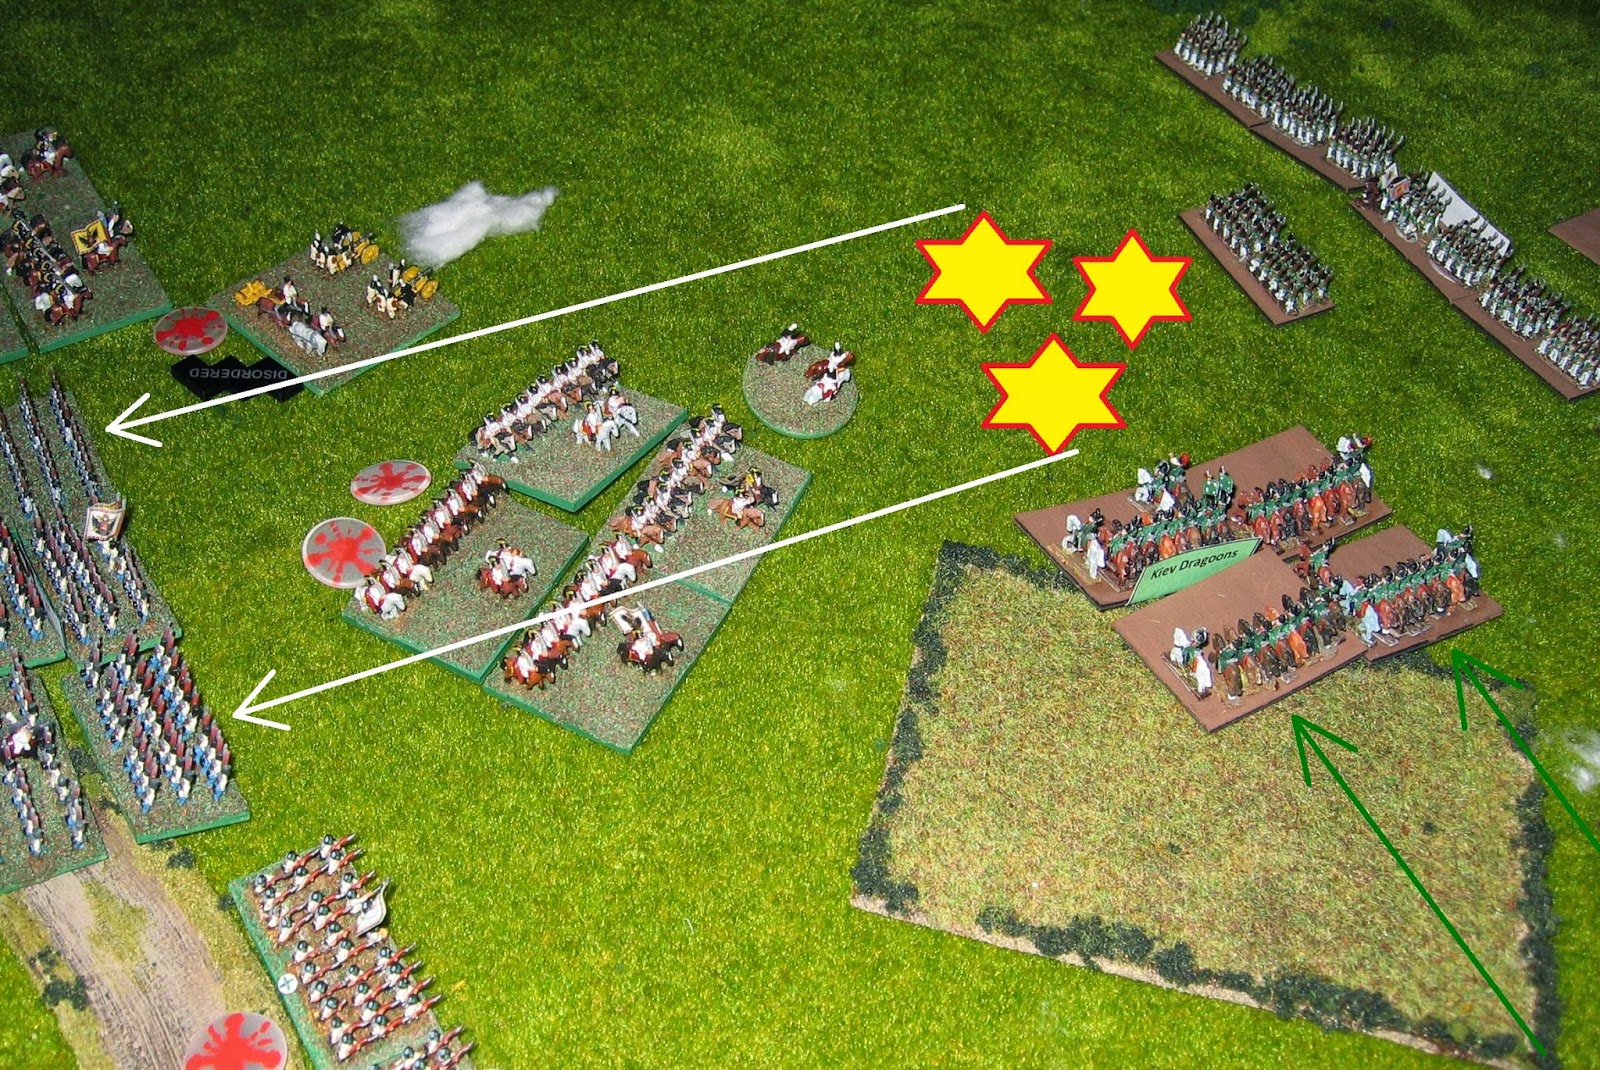
In the sideshow near Radzymin village, a lone Austrian Hussar regiment saw off successive, but uncoordinated, charges from 2 Russian light cavalry units.  Indeed, in the first fight, every hit was saved and so neither regiment took any damage (I guess they just rode past each other, shouting insults).


This couldn't go on forever, though.  In the end, the irritated Russians brought up 2 fresh regiments of light dragoons and obliterated the tiring Austrian hussars.  Still, they'd tied up 4 times their own numbers for several turns...


Still trying to prove their worth, the Russian light cavalry regiment who had failed to damage their Austrian counterparts before now saw an opportunity to charge an enemy battery in the flank.  The artillery should have been toast, but once again neither side inflicted any casualties.  We had to look up the rulebook for this one, as it was a situation that none of the players ever imagined would happen.  Our reading was that the cavalry retired and the artillery held their position; no doubt the gunners jeered mercilessly at the backs of the retreating cavalrymen!

Sadly, but not unexpectedly, in the next turn this battery was caught in the other flank by the Russian light dragoons and annihilated.


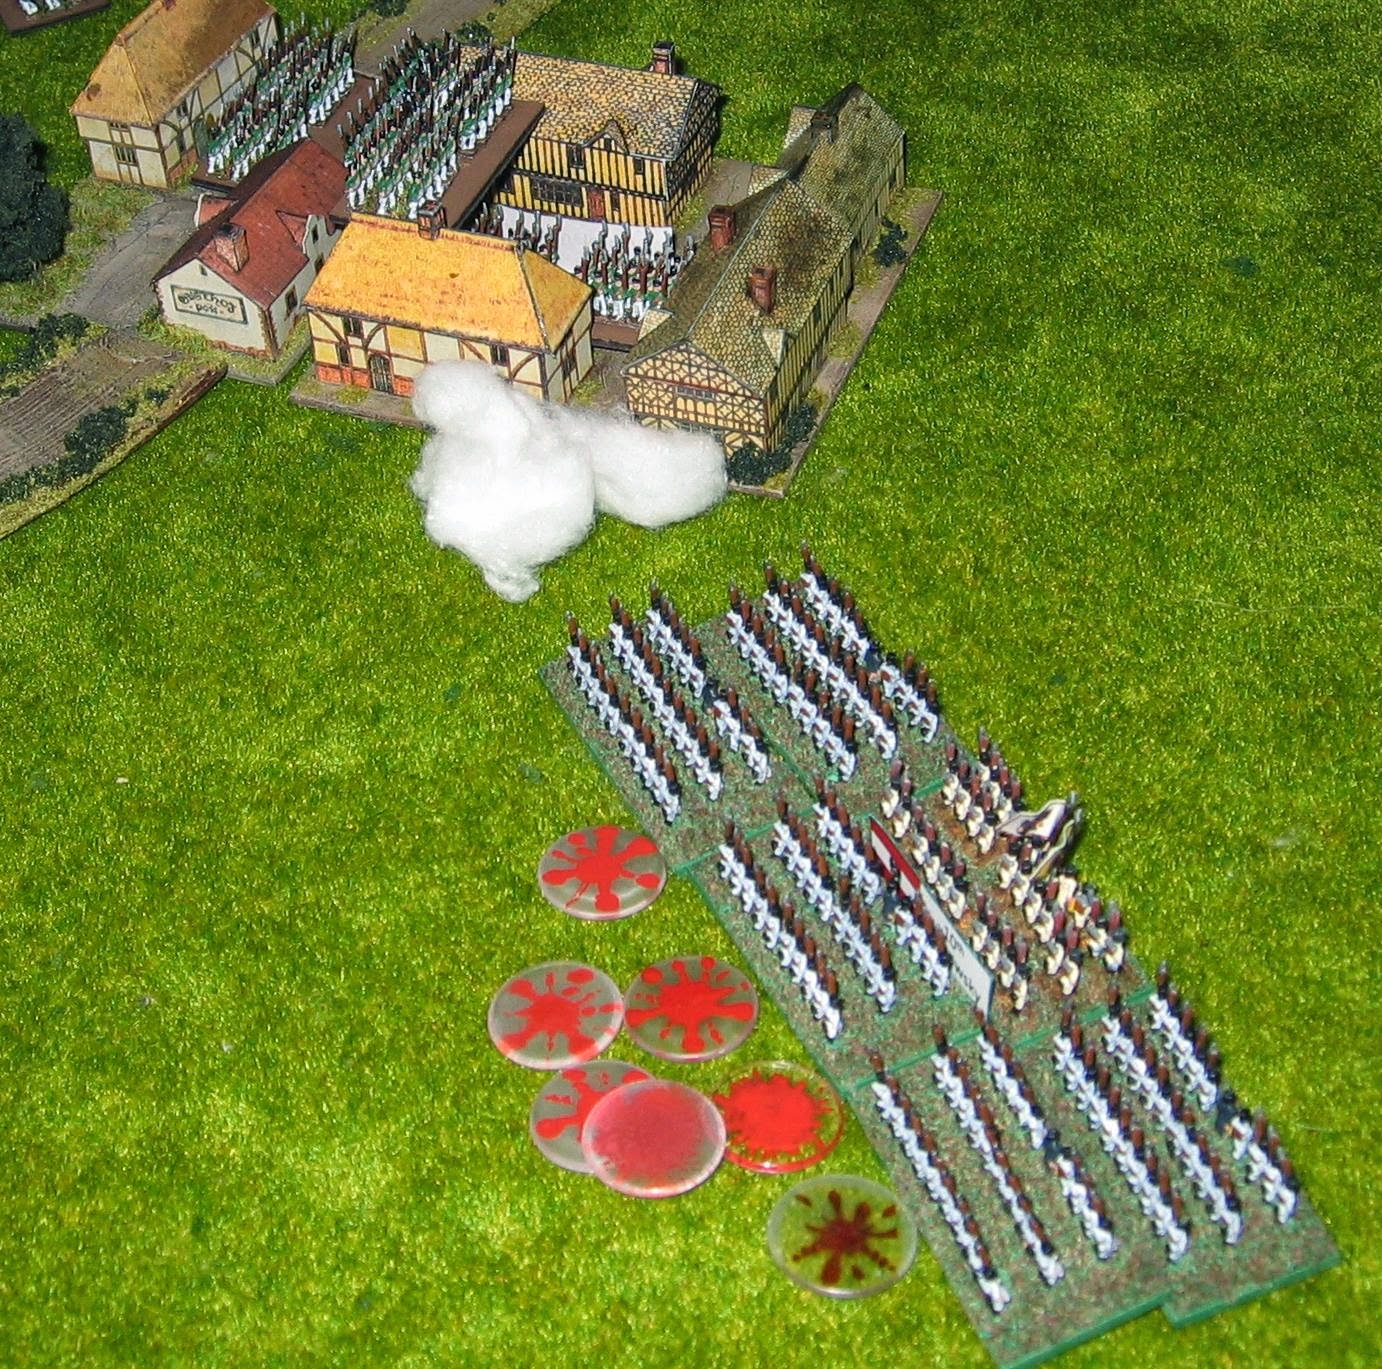
Back at Grochow, the fighting was furious now.  On the defender's left flank, the attack had stalled, but a Russian column managed to charge the militia on the right.  Astonishingly, the raw Austrian troops wiped out their attackers.

In this they may have been helped by a blunder by the Austrian subordinate Oberst Anon.  He had tried to rally the damaged front line of militia, but instead caused them to fall back.  Miraculously, CinC Von Mohr roused himself from his normal inefficiency to order the fresh, reserve unit into position just before the Russians made contact.


With time running out, the increasingly desperate Russian commanders threw in their other flank attack.  This infantry unit was savaged by musketry as it charged, then fought to destruction by the large unit of Austrian regulars who were facing it.

The next volley from the Austrians also routed the one and only Russian artillery battery.  With no cannons and with only 2 infantry units left, the Russians decided that their chance of taking Grochow was negligible and so they conceded the game.

Conclusion

This is the first time that we've played a historical scenario, even if there is some doubt about who actually fought in the real life battle.  OK, we substituted one of the sides and used Russians instead of Poles, but that wouldn't have made any substantial difference.

As written, I cannot see how the Poles/Russians can possibly take Grochow in this game.  Sure, they have large numbers of light cavalry, but those aren't much use in an urban assault.  The attackers also have very good leadership and the defenders are poor in that respect, but all the Austrians have to do is stand there and get in the way  Their sub-standard generals don't really interfere with that!  

"Blunders on the Danube" is a scenario book written for "Field of Battle", but unless those rules operate very differently from Black Powder then it's hard to see what the attackers could do differently.  I commend Steve and A. for trying (and at least they did manage to savage the Austrian detachment at Radzymin), but really I don't think they were going to win this one!

Wednesday, 28 May 2014

Black Powder: The Falten Pass

Introduction

Last Saturday, Steve came round to visit and we spent much of the day gaming.  First up, as always, was an outing for our 6mm Napoleonic forces.  We did play a different game afterwards; you'll hear about that another time!

For the Black Powder game, a division of my 1809-ish Austrians took on a roughly equal quantity of Steve's Russians.  There were only a few differences between the forces: the Austrians had slightly heavier cavalry but the Russians had more cannons.  Also, many of my Austrian infantry units were larger than average, but General Gruneberg, my commander-in-chief, was addled with gout and had to be ferried around in a coach. Here's how it went...

The Scenario

Somewhere in north-east Austria lies the Falten Pass.  A strategically-important road travels through a gap between rugged hills on one side and dense woods on the other.  Each of the Austrian and Russian armies have sent a division on ahead to secure this passage, but these forces have arrived at much the same time. Orders are clear: the enemy must not be allowed to control the pass!

This will be a straightforward "last man standing" battle between 2 relatively equal forces.  The only twist that we used was hidden deployment: a barrier of tall cardboard was erected down the centre of the table whilst we placed our armies on the board.

The Game

My brave Austrian infantry wait for the signal to advance
When the barrier was removed, I could see that the Russian infantry formed a line across the centre, whilst small cavalry brigades were present on both wings.  On the other hand, I had deployed all of my Austria line infantry towards the right, with cavalry to the left.  My plan was to advance the infantry as fast as possible towards the Russian-held village, whilst the cavalry would screen and delay the half of the enemy army that faced them.  Essentially, I'd follow the line of the road across the board.

Initially, my plan seemed to be working well.  The infantry advanced (though the 2nd Brigade, on the near side, was a little sluggish) and their supporting artillery caused some confusion amongst the opposing Russian cavalry.

The Austrian 2nd Brigade advances, whilst everyone else just watches.  Note the C-in-C's carriage in front of the village at the top left of the picture.
Now things started to fall apart a bit.  Major General Homburg's 2nd Brigade continued to advance in the centre, but the 1st Brigade (led by the less-than-brilliant Major General Von Tripp) halted.  The Austrian heavy cavalry moved across from the far flank to support the infantry.

This is where it all went downhill very fast.  Some of the Russian dragoons saw the exposed flank of the Austrian infantry and charged in.  The poor infantry were caught completely by surprise and the unit was devastated!

The dragoons followed this up by charging a small detachment of Austrian grenadiers, but they had obviously blown their horses.  Although General Homburg and his aides had to turn and flee to avoid them, the dragoons couldn't do more than make the grenadiers retire a short way.

Revenge was swift as the Austrian dragoons attacked the spent Russian cavalry whilst the reformed Austrian grenadiers poured fire onto their flank.  This was too much for them and the Russian unit broke and fled.

Then the second Russian dragoon unit attacked the 2nd Brigade's other large infantry unit.  Again, the flank attack caused serious damage, though this time the infantry regiment retired, shaken. They might as well have routed off the field, though: since the brigade morale was now broken they would never rally and would automatically withdraw from any enemy approach.

Austrian cuirassiers now moved to finish off the enemy cavalry.  Unwisely, they advanced into a firestorm as an enfilading Russian artillery battery shot them to pieces.  Men and horses were torn apart and the unit just disintegrated as the few survivors limped away.

Well, this wasn't going at all the way I'd hoped!  So far, my complete mismanagement had cost me an entire infantry brigade and half of my heavy cavalry with very little to show for it.  At least Steve had the good grace not to gloat.  Right, let's see if I can salvage anything from this mess...

OK, first let's eliminate the remaining, damaged Russian cavalry.  The Austrian dragoons charged their Russian counterparts; in the ensuing fierce fight the Russians broke and the Austrians retired, shaken.  Because the formation had already lost the cuirassiers, the heavy cavalry brigade was now broken and the Austrian dragoons couldn't be rallied.  They retired to stand nearby the forlorn remnants of the 2nd Infantry, all of whom would have retreated precipitously had any enemy approached them.

A pause in the action
By now, the entire Austrian centre was brittle and would have evaporated if anyone had looked at them sternly.  On the left wing (top of picture), a few light cavalry and infantry units were valiantly holding off a large part of the Russian army.  Actually, that's rather too grand a claim - in reality this part of the Russian force had a lethargic general who advanced his units with glacial slowness.  It's nice to know that the Austrians don't have a monopoly on incompetent commanders!

So that leaves the untouched 1st Infantry Brigade on the right wing.  Could they save the day?

The 1st Brigade advanced and engaged the enemy under the watchful eyes of both their brigadier and the Austrian commander-in-chief himself.  Actually, I suspect that the latter was just looking for a good inn where he could get a hot dinner and rest for a while in the parlour to escape the rigours of riding in a coach all day.  He wasn't going to get his meal...

One unit attacked the village, but the Russian garrison were too strong and the Austrian infantry withdrew, shaken and disorganised.  The other large regiment fared slightly better as they charged and routed another Russian unit in the open fields.

When the Austrians paused to redress their ranks, the garrison of the village poured a murderous enfilading fire into their flank.  This was too much for the white-coats; they broke and fled.  With that, the 1st Infantry Brigade was ruined.  Since 3 out of 4 Austrian brigades were now demoralised, the entire army broke.  In any case, the Light Brigade on the Austrian left flank was under increasing pressure from overwhelming numbers of Russian troops; it would probably have collapsed very soon as well.  Game over!

Conclusion

What was left of the Austrian division probably could have conducted some form of fighting retreat, since the Russian cavalry units on one flank were totally destroyed and those on the other flank were heavily damaged (and there were no Cossacks around!).  Still, 3.5 out of 4 Austrian brigades were shattered in exchange for 1 Russian cavalry brigade eliminated, so I can hardly pretend that this was anything other than a major defeat.  Most of the Russian infantry were fresh and just needed good leadership to move into the fray.

Lesson of the day: watch those flanks!  And beware of enfilading fire.  Oh, also don't send in uncoordinated attacks by 1 or 2 units at a time.  In fact, could I have done any worse?

On the comedy note, the small unit of Austrian Jaegers that belonged to the 1st Brigade blundered on their very first order.  They spent the entire game hiding in the woods on the extreme right of the Austrian line, where they were too far away from their brigadier for him to issue them with a successful order.  Since my Jaegers had a rather fearsome reputation from some of our previous games, this helped to put things into perspective...

Wednesday, 14 May 2014

Survivors, Vikings and a lot of Bull!

Introduction

Once again, I've nothing much to say - so I'll show some pictures of recently-finished models instead.  That's what you all like, isn't it?  It is, isn't it?

OK, I've been fairly productive in the last 3 weeks or so.  I'm steadily working my way through my haul from Salute, mainly because I just can't face seeing any of these unpainted by the time the next show or birthday comes around.  A few older models have also made it off the construction line; I'm quite pleased at the diversity I've achieved.  So far, I'm obeying my self-imposed rule of "once on the painting table, only completed models may be removed".

I'm also making good progress on the Amera "Ruined Temple" that I picked up recently.  It's not going to be a temple, though - but you'll just have to wait a bit longer to see what I've done to it!

Survivors

Here are a couple of apocalypse survivors from the Wargames Factory set; I've called them "Trevor" and "Chris".  Trevor holds an assault rifle and is unconverted, straight out of the box.  Chris has a rocket launcher from the sister set (!) of Women apocalypse survivors but is otherwise a simple build.

I've just realised that both of these figures have been made from the same body pose.  I'm quite surprised at how well this is hidden; the models really do look quite different to me.

Trevor and Chris are slightly better prepared than many civilians: both men have backpacks or pouches as well as drinks bottles.  Not many people know this, but dehydration can be a major problem in the middle of a zombie outbreak.  A sports bottle could save your life!

There's something not quite right about the finish on this pair of figures; I wonder if my varnish wasn't behaving itself when I sealed them.  What do you think?

Vikings

Now here's a pair of Vikings who have been raiding and pillaging!  Quite successfully too, I'd say.  They're from Dixon Miniatures and are made as an inseparable pair.  It's quite a complicated moulding and although otherwise well cast, the right-hand figure has lost the top of his bow.  I did try to glue it back, but butt joins of very narrow pieces don't have much strength and the repair didn't hold.

Apparently, white (domestic) geese have existed since Roman times and were much sought after.  I don't think they'd taste any different when cooked though - and I imagine that is the fate awaiting this bird!

Notice how Hrolf, the richer guy (with chainmail, shield, Dane axe and brighter clothing) is doing all the celebrating whilst his lower status companion has to carry all the loot!

6-Horse Carriage

This is a bonus picture: it's a 6mm carriage that I bought from Irregular Miniatures (I think) many, many years ago.  The carriage sat around without any attention for a long time, but I finally decided to do something with it and I'm very glad that I did.  It wasn't the oldest unpainted model I have, but probably wasn't far off!

I think this will probably be used as the command marker for any exceptionally infirm or gout-ridden generals in my Austrian Napoleonic army.  I fully expect that any opponent will demand movement penalties for such a commander; I'll be sympathetic to such demands!

The Brazen Bull

In the ancient world, the Brazen Bull was supposedly a torture device invented by Perillos of Athens for a Sicilian Greek tyrant.  Whether or not that can be substantiated, this Wargames Foundry model is clearly animated.  I suspect that it's been sent by one of the Greek gods to torment some poor hero.

My bull will be used as an opponent for Jason and the Argonauts when I am eventually ready to play such games.  Typically such god-animated constructs are very difficult to beat unless you know the hidden weakness.  I wonder if the ring in the middle of its back is attached to a pull-cord?  Maybe that's the secret way to defeat this monster?

I'm quite pleased with the way the bull has turned out, but actually such models are really easy to paint.  The bulk of it is just a single colour and there are only a few details that needed to be added.

Saturday, 28 December 2013

Black Powder: The Bridges over the Traisen (1812)

Introduction

These days, I don't play many historical games at the Helensburgh Games Club.  However, occasionally my friend Steve and I play a game of Black Powder with our 6mm Napoleonic armies.  This is, to me, the best scale with which to depict large horse & musket battles.  I think it gives a much better impression of the huge numbers of men and horses that would have been involved (though we all know that even 6mm figures aren't going to represent a division at 1:1, let alone an entire army corps or bigger).  See what you think...

Recently, Steve sent me a whole load more Austrian infantry (see here), so I was eager to try out my reinvigorated forces.  I had my chance last weekend...

Scenario


Somewhere in eastern Europe and sometime between 1809 and 1812, the Russian and Austrian empires are at war [note that this isn't totally impossible.  Although both these countries usually fought against the French, a weak and reluctant Austria did send an army corps to help Napoleon's 1812 invasion of Russia]. On this hypothetical occasion, a division from each army were racing to secure the crossings over the river Traisen, either to make it easier for following troops to cross or to allow engineers time to demolish the bridges.

This would be a simple encounter battle but with a slight twist.  Each side would approach from one side of the river; victory would be determined by counting the number of bases of troops that were on the far side when the game ended.

The river could be crossed at any one of 4 bridges by a unit that was in column of march [good luck doing that if opposed].  Also, it's possible that the Traisen could be forded.  The section of river with the island is automatically deemed to be fordable.  The status of each of the other 4 sections can only be determined when a unit reaches the river bank at that point.  A roll of 5 or 6 then indicates that the section is fordable.

A fordable river section may be crossed by any unit at half speed.  If a unit is defending a riverbank when faced by an attacker who is in the river then the defender gains bonuses equivalent to defending a building.  This makes it difficult, but not impossible, to succeed in such an assault.

Forces

Both sides had roughly comparable forces:
  • 2 brigades of infantry, each of 3 or 4 regiments of infantry and some artillery.  Many of the Austrian line infantry units were large, while one of the Russian brigades consisted of Jaegers.
  • 1 light/vanguard brigade of 2 or 3 regiments.  The Austrian vanguard had a mixture of light infantry and hussars, whilst the Russian equivalent had just cavalry.
  • 1 reserve brigade of 2 or 3 regiments of heavy cavalry plus some horse artillery.

The Game: Early Moves

In early moves, most of the Russian army advanced at a reasonable speed.  Their dragoons reached the curve of the river Traisen in the centre of the table.  A hapless subaltern was sent forward to find out if the waters could be crossed at this point; he quickly discovered that they were too deep!

The Austrian army mostly responded with apathy and only marched slowly forwards.  There were 2 exceptions to this: the vanguard blundered and went in the wrong direction, leaving it to the 2nd infantry brigade to make a forced march up to and over the nearest bridge.  The latter was a very risky move, as there were several regiments of Russian light cavalry just on the other side of the small hill.  However, these failed to spot the Austrian columns and just stood around waiting for further orders.

As the first Austrian regiments started to deploy on the far side of the river, they were joined by friendly dragoons and cuirassiers who used the second bridge.  The Russians just stood and watched, not really appreciating the significance of these movements [some useful command rolls for the Austrians and some poor ones for their enemies!]

Austrian vanguard (bottom) and 1st brigade (centre) advance - but too late!
The fighting was opened with an indecisive skirmish between opposing heavy cavalry units.  Finally, the Austrian vanguard and 1st infantry brigade advanced towards the southern bridges, only to find that the far banks of the river were already lined with Russian infantry and cannon.

Alternate view of the Austrian vanguard exchanging fire with Russians across the river
The river was completely unfordable at this point.  Under the circumstances, neither side felt like trying to force passage across any of the bridges!

Confused Fighting

In the north, one of the Russian infantry regiments charged forward without orders [i.e. a blunder was rolled!] at the Austrian unit on the hill.  Casualties were very heavy; both units remained deadlocked for some time with neither willing to give way.

Austrian and Russian dragoons knock the crap out of each other.
A savagely renewed heavy cavalry charge in the centre left both sides shattered and reeling.

...while to the south, lucky Austrian skirmishers shot to pieces an opposing Russian regiment.

Austrian infantry advanced slowly in the north, though every step was heavily contested.  In the centre, heavy cavalry commanders glared at each other through spyglasses, each side unwilling to risk another bloodbath with a fresh charge.  Further south, infantry and artillery pounded each other across the river, with both sides taking heavy casualties.

Breakthrough

Finally, the infantry of the Austrian 2nd brigade managed to destroy the opposing Russian units in savage fighting.  This caused the enemy's closer infantry brigade to become demoralised.  Indeed, Russian General Palitsyn was nearly captured by the advancing whitecoats; he had to flee quite some way to seek safety with a friendly regiment.

The Russians weren't about to give up, though.  Light cavalry forced the tired, leading Austrian infantry to form square and their accompanying horse artillery then pounded the square with cannister until it disintegrated.

While the remaining units of the Austrian 1st brigade paused to redress their lines (and to shoot down those pesky Russian gunners), massive reinforcements were pouring across the river.  The rallied Austrian heavy cavalry formed up behind the infantry line, whilst elements of the 2nd brigade waded across the river near the island and started to skirmish with the central Russian infantry.

Alternate view of the fighting.  Observe the cavalry massing on both sides in the far distance.

It was time for the cavalry to earn their pay.  Firstly the Austrian dragoons charged at one of the Russian hussar regiments.  The heavy cavalry obliterated their lighter opponents, then retired back behind friendly infantry to lick their own wounds.

Then the Austrian cuirassiers charged at the Russian dragoons.  In a thunderous meeting, both sides were devastated - but it was the Russians who broke and fled.  This last victory was enough to break both the Russian heavy cavalry brigade and their entire army.

As the remaining Russian units withdrew in reasonably good order, they were pursued closely by a few Austrian infantry units (and the Uhlans, who had finally decided to take part in the action).  All the rest of the Austrian cavalry was exhausted and had suffered severe losses; they were in no fit state to hound the enemy.

Conclusion

It was always going to be a race for the bridges, since the rules would have savaged anyone who tried to march across in the face of any opposition.  As it happened, the Austrian infantry to the north had a general who was really on form in the early game; several units had crossed before the Russians could react.

The game could have turned either way at several points, I think:
  • If the southern Russians had reached the nearer bridges before enemies turned up near the other bank then they might have crossed.  This would have given both sides a conundrum: reinforce your own bridgehead or squash the enemy's one?
  • If any of the river segments (other than the central one with the island, that is) had been fordable then that would have made a much easier crossing than the bridges.
  • Finally, the initial Austrian bridgehead was very crowded and somewhat precarious for a turn or two.  If the Russians had been able to bottle up these units then they might have done crippling damage to them.  Poor command rolls cost them this opportunity.  It didn't help that one of their generals chose that moment to blunder and start micro-managing an artillery battery into the wrong position!

Sunday, 15 December 2013

Austrians! Thousands of them!

Introduction

A couple of weeks ago, I received a package in the mail from Heroics and Ros, makers of 6mm figures and vehicles for a wide range of wars.  This was something of a surprise to me as I didn't recall ordering anything from them recently.  The packing slip indicated that they'd been sent by my good friend Steve.  OK, that's nice - but what's going on?

Regular readers will know that I've been unemployed for the last 5 weeks (don't worry - I'm starting a new job soon).  Steve had decided that I needed something to fill my time and cheer me up, so he very kindly ordered this package for me.  Also, he felt that my Napoleonic Austrians had put up a poor showing against his Russians the last time we played Black Powder.  This was at least partly due to my infantry being a bit thin on the ground.

2 large regiments of infantry: the German "10th Mitrowsky" on the left and the Hungarian "2nd Von Hiller" on the right

Black Powder in 6mm


Steve's parcel contained 8 packets of Austrian infantry and 2 of Grenadiers.  That's quite a large number of figures, since each packet has 50 or more figures.  Not thousands maybe, but certainly many hundreds!  Now, my existing Austrian infantry is a mixture of "German" and "Hungarian" bases (the Hungarians have blue trousers but are otherwise pretty much indistinguishable at this scale), with shako or helmet, in march or attack poses.  In other words, quite a varied lot!  This worked well enough for the DBN rules that we used to play where an army only required a few bases.  However it's not so good for Black Powder, where a unit is much larger and for visual effect should have a unified appearance.

So, how do we do this?  Firstly, base sizes are dictated by those from DBN, since I'm not going to rebase all my existing stuff.  That's simple enough: 40mm width with 20/30/40mm depth for infantry/cavalry/artillery.  How many bases make up a unit?  That's less obvious, but by halving the movement and shooting distances from the Black Powder rulebooks and doing some rough calculations on the unit sizes used by other players, I've come up with 6 bases for a large unit, 4 bases for a normal unit, 2 for a small unit and 1 for a tiny unit.  Being Austrians, my army will have a fair number of large units!

I've used the new models to create a large number of plain infantry stands, without command figures.  These can then be used with my existing stands to create either large or normal-sized units as desired.  My older command stands have been altered slightly, so that both flags are on the same stand (!) and so that each has the regiment name printed on a card upright at the back of the base.

Although it is technically possible to deploy a single base forward to depict a unit in "mixed" formation (i.e. with skirmishers deployed to the front), this isn't visually very appealing.  Instead I've decided to experiment with a separate "marker" base with a token number of skirmishers on it; this can be placed ahead of any unit to show that it is in mixed formation.  Note that this is a new idea of mine and I haven't tried this out in a real game yet!

The Formations

So how does this look in practice?  Using most of the new infantry and some of my existing bases (refurbished somewhat!), I now have 4 large units of line infantry plus enough extras to make up at least 1 or 2 normal-sized units as well.  Alternatively, I could choose to deploy them as 6 normal units instead of 4 large ones.  Here are some examples:

10th Mitrowsky in "mixed" formation
2nd Von Hiller (Hungarian) in "mixed" formation
Large regiment in attack column
Large regiment in line

Regiment in march column
Large regiment in square

Skirmisher marker base

As well as bulking up my regular infantry, I used some of the excess command figures to make a bunch more brigade commanders.  These are mounted on 20mm washers and have a standard to aid with identification:
A bunch of brigadiers!

So look out, Steve: we're ready for you!  We'll be back!